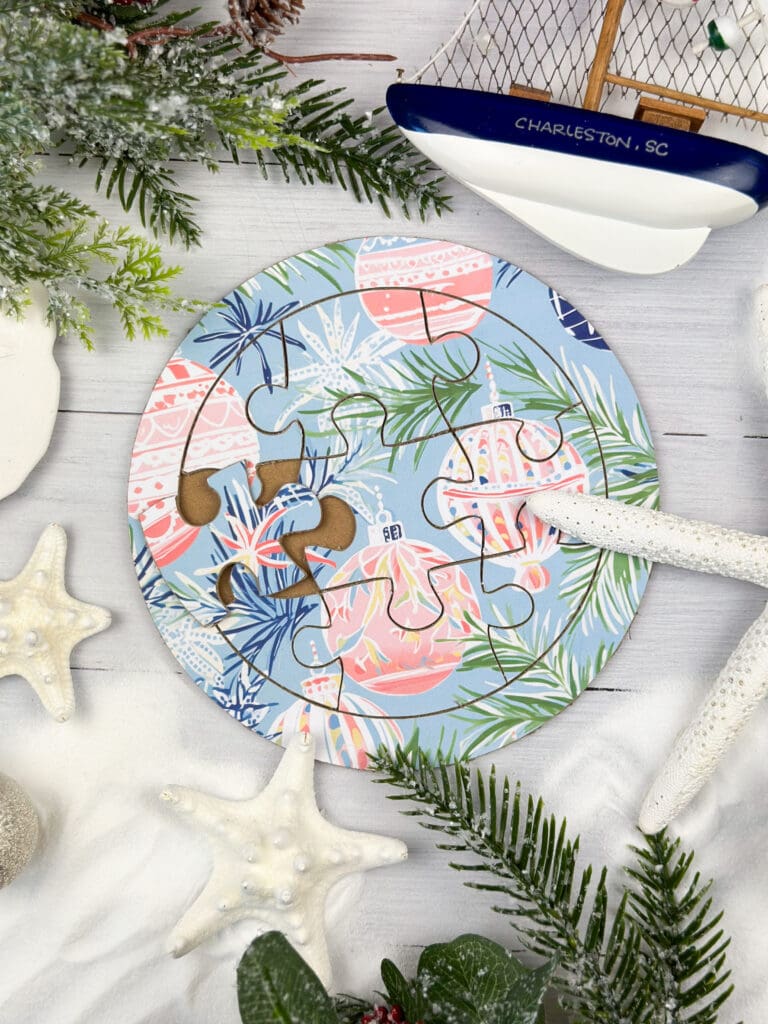
Looking for a unique way to gift a photo or your favorite coastal artwork? This DIY puzzle is a fantastic and fun project! It’s the perfect size to add to a gift basket, stocking, or your own coffee table. Want to see how it’s made? Let’s get started!
Supplies for Your DIY Puzzle
Here are the materials you’ll need for this DIY coastal holiday puzzle:
- Cricut Maker 3
- Ink Jet Color Printer
- Scissors
- Cricut Printable Vinyl
- Cricut Chipboard
- Cricut Brayer
- Cricut Knife Blade
- Masking Tape
- Cricut StrongGrip Mat
- Hot Glue Gun
- Photo or Artwork
Step 1: Select Your Art or Photo!
We are using this fun Whimsical Ornaments downloadable pattern by Saltsy, but you can use any design or photo you want.
Step 2: Open Cricut Design Space
Once you’ve opened Cricut Design Space, you’ll click ‘images’. Search ‘puzzle’ and then narrow your search by the chipboard material. Select your design and add it to your canvas. Then, click ‘upload’ and select or upload your artwork or photo.
Resize your image and puzzle to your liking and be sure that the size will fit on your printable vinyl and that your photo is larger than the puzzle design. When everything looks how you want it, click ‘make’!
Step 3: Print the Design
Make sure that you load the paper correctly in your tray.
Step 4: Prepare the Puzzle Base
Place a piece of chipboard onto your StrongGrip mat and secure each edge with masking tape. Load it into the Cricut and let it cut out the base of your puzzle.
Step 5: Check Your Cuts
Check to see that the piece has been completely cut through before unloading the design. Remove it from the mat and discard the remaining chipboard and tape.
Step 6: Prep Another Piece of Chipboard
Prepare another piece of chipboard to make your puzzle! After trimming your vinyl down, line up the design and adhere the vinyl with your brayer. TIP: You can use the cut out from your base board to ensure the design will line up correctly.
Step 7: Cut Out Your DIY Puzzle
Watch the magic as your Cricut creates your puzzle! Check that the pieces have been thoroughly cut through before unloading the design.
Step 8: Affix to the Base
Glue the outer piece of your puzzle frame to the base. We chose hot glue for this, but any strong glue will work.
Step 9: Enjoy Your DIY Coastal Holiday Puzzle!
Viola! Your puzzle is complete!
Tip on Which Vinyl to Use for Your DIY Puzzle
Cricut offers different colors of printable vinyl and in this post we tested two different options, Transparent (left photo) and White (right photo). For this artwork, the transparent option showed much more of the chipboard color and dulled the design a bit. But, the transparent option has more of a gloss to it. In the end, we preferred the white option for this art to create a bright, clean look. Be sure to select the option that is best for your art!
